
Before you read how to adjust the front page display of your WordPress blog I first wanted to explain the difference between posts and pages…
A post is a chronological, journal style entry that has a date and time. A page is a more static type of entry and has the feel of a traditional website. Most blogs have posts on the homepage, but with WordPress you can assign one of your pages to the homepage. This will allow your WordPress blog to look more like a website.
Begin by going to the “pages” section your your WordPress dashboard.
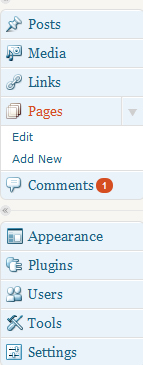
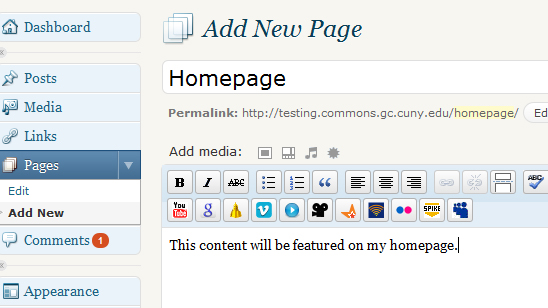
Add a new page that you wish to use as your homepage.
(Skip this section if you do not want to display blog posts on your website.)
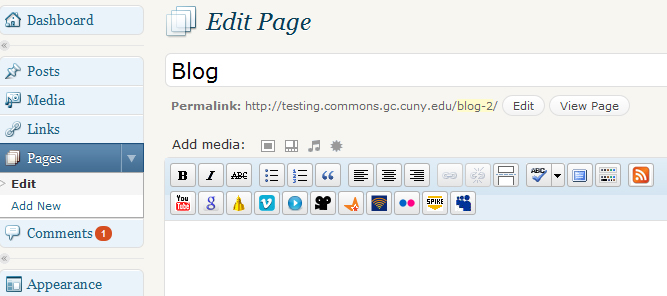
To feature your blog on your website, create a new page where users can access your posts. Many people simply title this page ‘Blog’, but other options include ‘Reflections’, ‘Updates’, etc. Members can add any page title they choose, but there’s no need to add text or media because page content will be automatically generated from your posts.
With the exception of your front page, your pages will now be ordered alphabetically. To change the page order while editing your page, navigate to the attributes module located on the right side and enter a number under the order field. The parent field also allows you to arrange your pages in hierarchies, creating a drop-down menu.

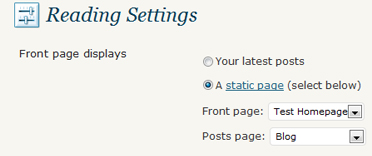
The last step to turn your WordPress blog into a website is to select the Reading under Settings tab on the left navigation bar.
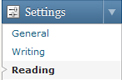
Once there, select static page for your front page display and choose which pages you would like to feature as your front page (homepage) and your posts page (blog). If you do not wish to include blog posts on your website simply leave the posts page field blank.
And with that, you will have successfully turned your blog into a website. Congrats!
Comments are closed.